The Aim of the Project
We aimed to develop a tool which allows any Wikimedia Commons user to import images to Commons from the online repositories of a number of GLAMs (galleries, libraries, archives and museums) easily.
The Tool
The tool is hosted on the Wikimedia Toolforge here.
Source Code
The source code is licensed under GNU General Public License v3.0. Here is the link to the source code.
Tasks Completed
- Designing the architecture of the tool so that it is easily scalable : Studied several tools including video2commons, Flinfo to arrive at a suitable OOP based design of the tool after several discussions with the mentors.
- Enabling authentication of the users via Oauth: Studied the OAuth protocol to allow the authorization of the users of the tool via their Wikimedia Commons credentials.
- Designing a user interface: Worked on making the UI as easy to use as possible for the end user.
- Adding support for upload via URL or unique ID of the image : Worked to ensure that a single image can be uploaded via URL or unique ID.
- Enabling searching of images based on a given search string : Used the GLAM’s API to search images based on a search term.
- Enabling creation of an image gallery on performing a string based image search : Designed an image gallery containing thumbnail of images returned by the search.
- Enabling multiple image upload at a time : Worked to ensure multiple images can be selected and uploaded at one click of a button.
- Adding support for adding multiple categories for the images : Enabled the user to specify multiple categories by clicking an ‘Add’ button.
- Enabled showing of proper error messages in the UI when exceptions occur : Ensured that the user is shown proper messages after an unexpected operation.
- Deployed the app on Wikimedia Foundation Toollabs (link) : Learned how to create a Toollabs account and and create a service group to deploy the app.
- Integrating two GLAMs into the tool : Worked on integrating National Archief, Amsterdam Museum into the tool.
Achievements
To make the tool easily scalable was a challenge in itself. We have followed a OOP based approach to meet this challenge. There is a base class from which all GLAM classes inherit. For inclusion of a new GLAM the corresponding GLAM class has to define a set of pre-decided attributes and methods. The details are here.
Next steps
- Adding pagination support in the image gallery.
- Adding new GLAMs to the tool.
We have not been able to do these due to the time constraints of the project.
Mentors
Lessons
The GSoC experience is enriching in many ways. For me it was no different. There were many lessons learnt along the way. It was known from the beginning that ours is going to be a Python Flask tool. So I started learning about the Flask micro framework even before submiting the proposal while doing the microtasks. During the community bonding period I got myself familiar with Wikimedia Toollabs and how to make a Flask app in Toollabs. The immediate next step was to learn how to use the OAuth protocol for user authentication. Thereafter while fetching data from the APIs provided by the GLAMs I acquired a better understanding of how to work with third party APIs. Right from the end of the first evaluation we had focussed on improving the readability and quality of the code. This included using Flake8 for python code and writing useful comments in the code. Midway in the project I had some issues in github. Somehow some files got deleted and my mentors helped to restore them. So I got a flavor of how to use github for collaboration. Also in the beginning I did not have a local OAuth enabled test setup. So it was time consuming to test the code directly at the Toollabs server. Later I learnt how to get a local test setup and things became much smoother. Among technologies I learnt to use Jinja templating, Bootstap etc. Finally as already mentioned in the Achievements section the use of an OOP approach helped me to appreciate the power of OOP design.
Things to keep next time
There are some of the things which I think I was right to do. Right after the selection results were announced on May 4, 2017 I communicated with my mentors to seek their guidance on how they would want to get started with the project. This enabled us to start work and even start coding in the community bonding period itself. Secondly, for a software development life cycle it is very important to be clear about what the requirements are. So one needs to keep asking questions periodically about whether one is going in the right direction. I think I have been able to do so and ask questions to the mentors whenever I felt it was necessary. This enabled me to follow the planned project timeline and meet the deliverables more or less in time. Lastly I have been documenting my weekly progress informally in a personal blog and updating official weekly reports in the phabricator as well.
Things to try next time
After doing a project as GSoC one always finds some of the things which have scope for improvement. I believe that we had done a good job while planning the project timeline but there could have been finer planning. We could have broken the tasks into further subtasks to have better clarity in understanding. This will enable us to better prioritize the tasks well in advance. For example for the multiple image upload the possibility to have pagination was identified pretty late while we had other things with higher priority at hand. Secondly, we can try to keep track of review comments in some shared location from the beginning of the project itself. This will help both the student and mentors to avoid repetitions. Thirdly, on the later half of the project I spent at least 10 hours per week in meetings. I believe we can try to not stretch them too long.
How the tool works
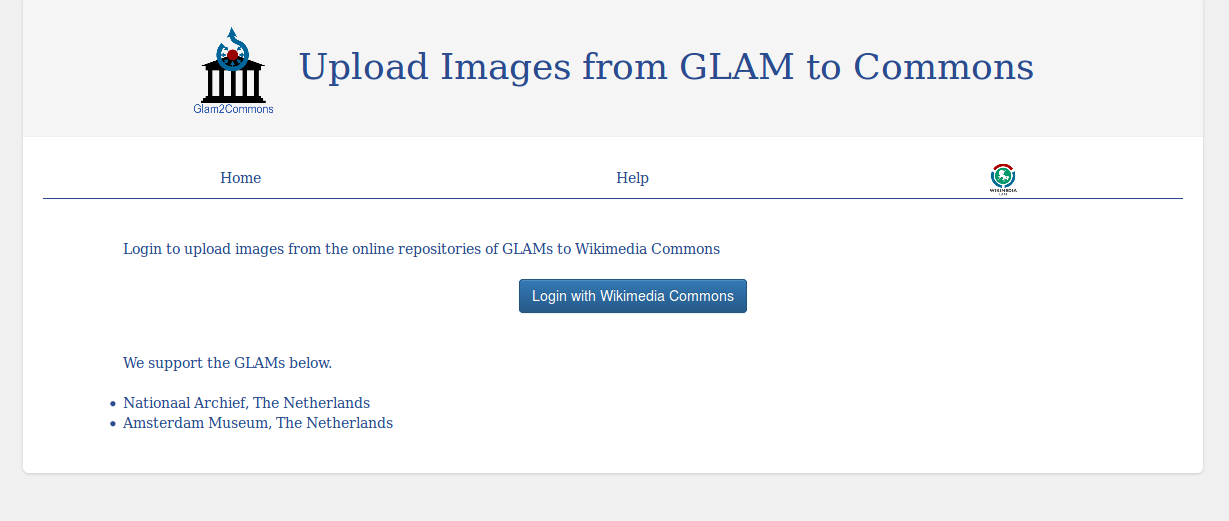
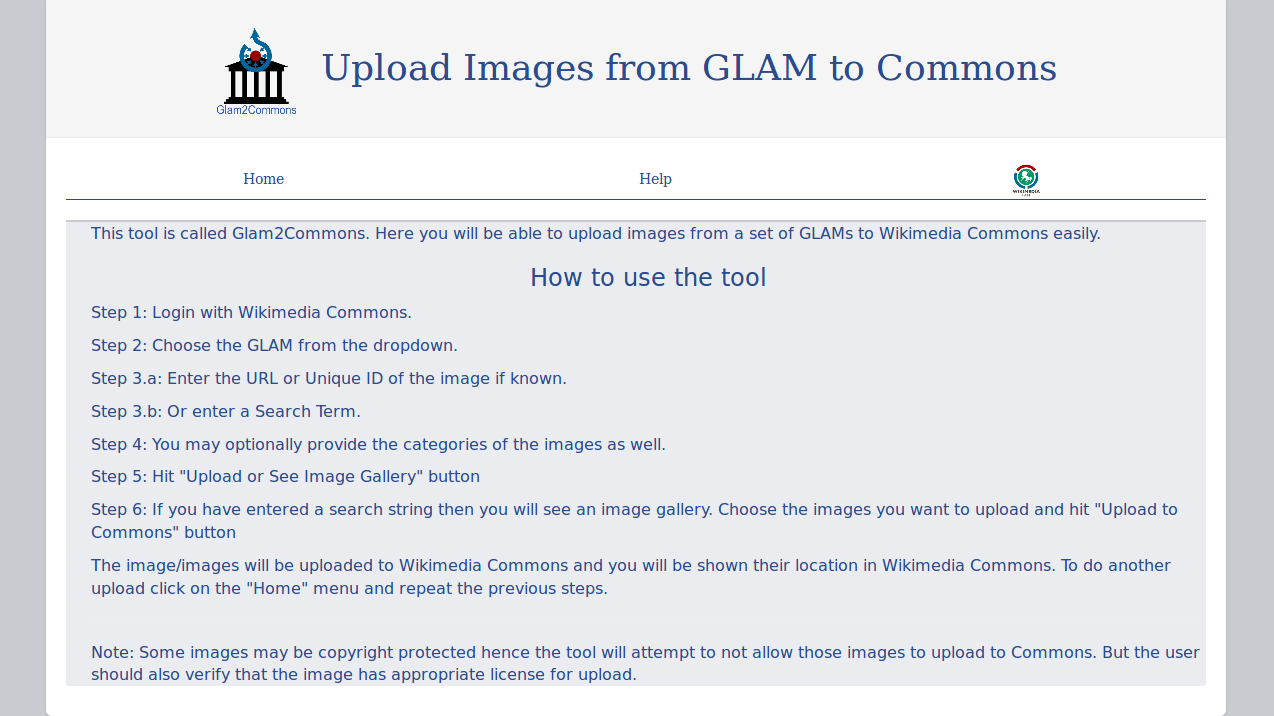
Screen 1: Go to the tool homepage. Click on Login With Wikimedia Commons
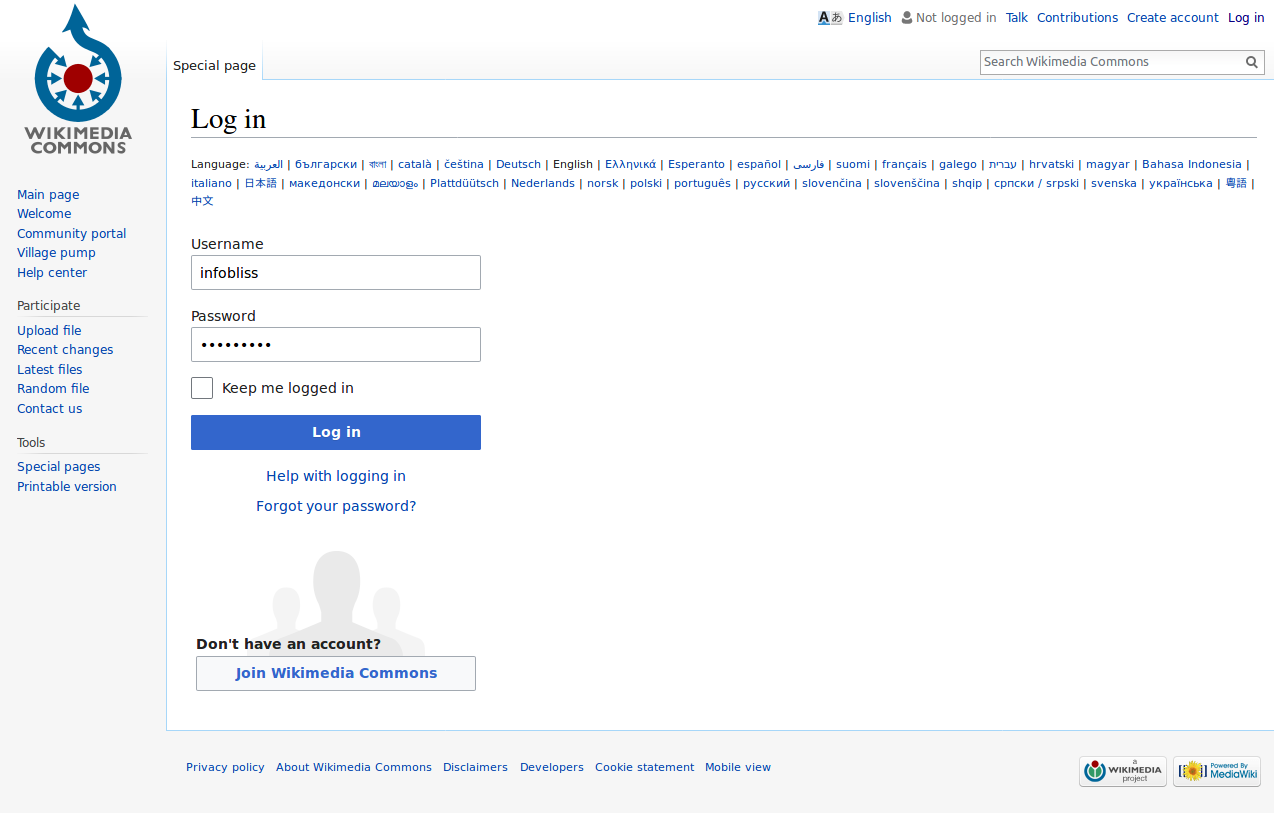
Screen 2: Provide your Wikimedia Commons account credentials
Screen 3: Allow the necessary rights to the tool

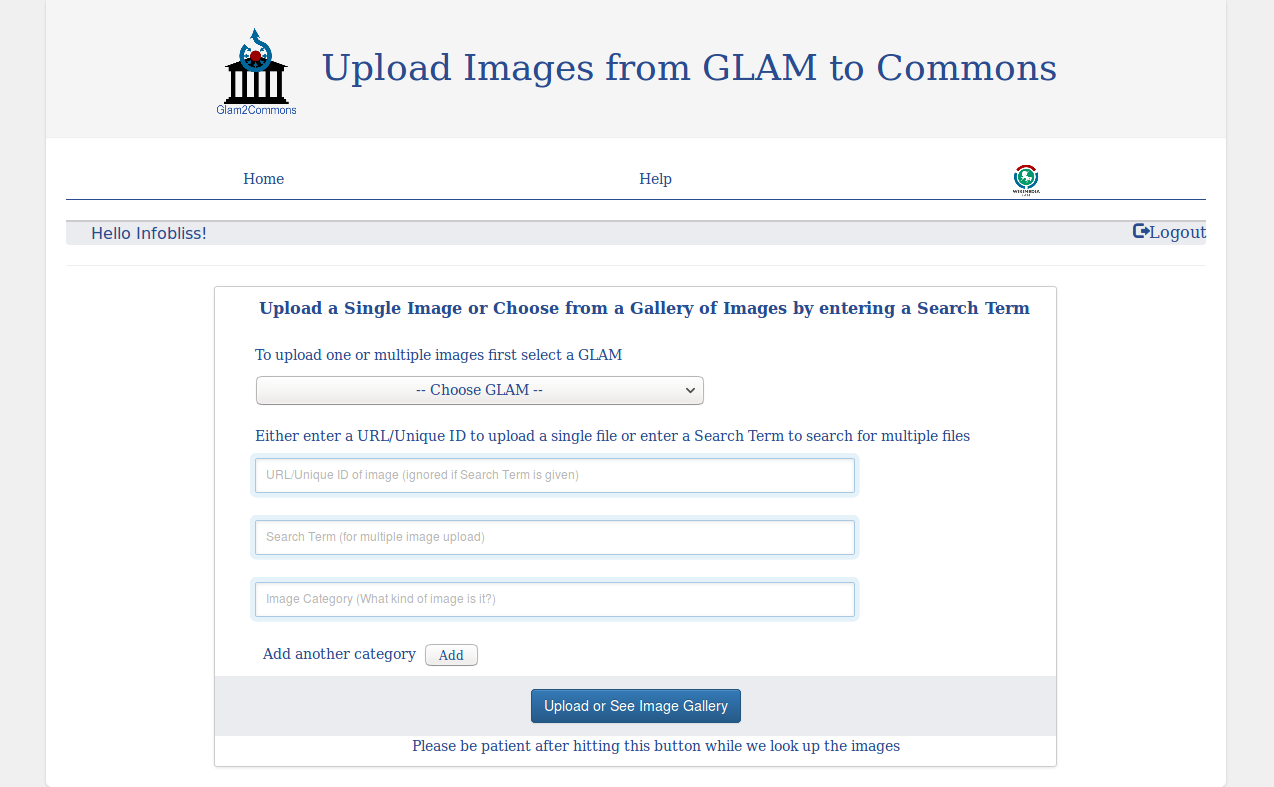
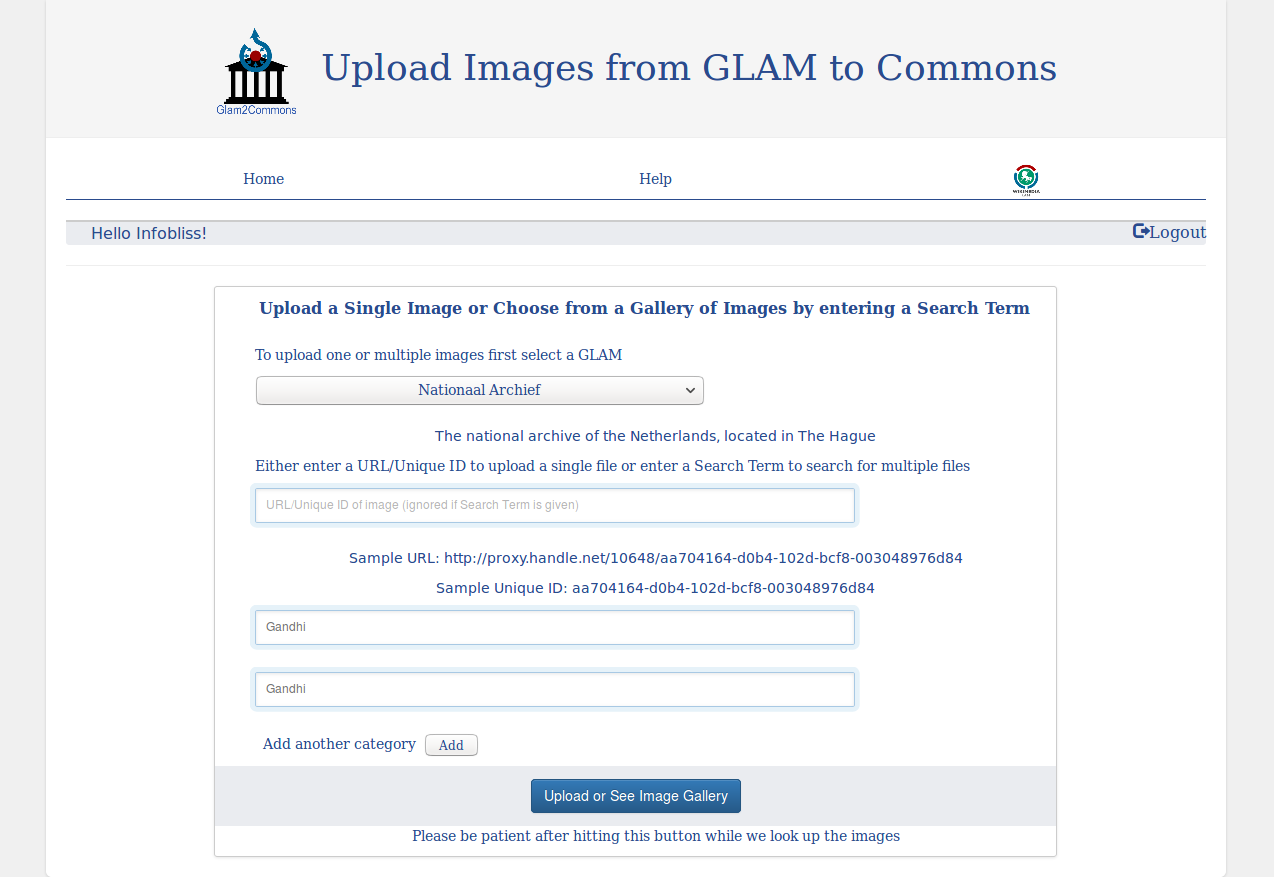
Screen 4: Fill the form to upload images to Wikimedia Commons
Screen 5: Single image upload using image URL or Unique ID
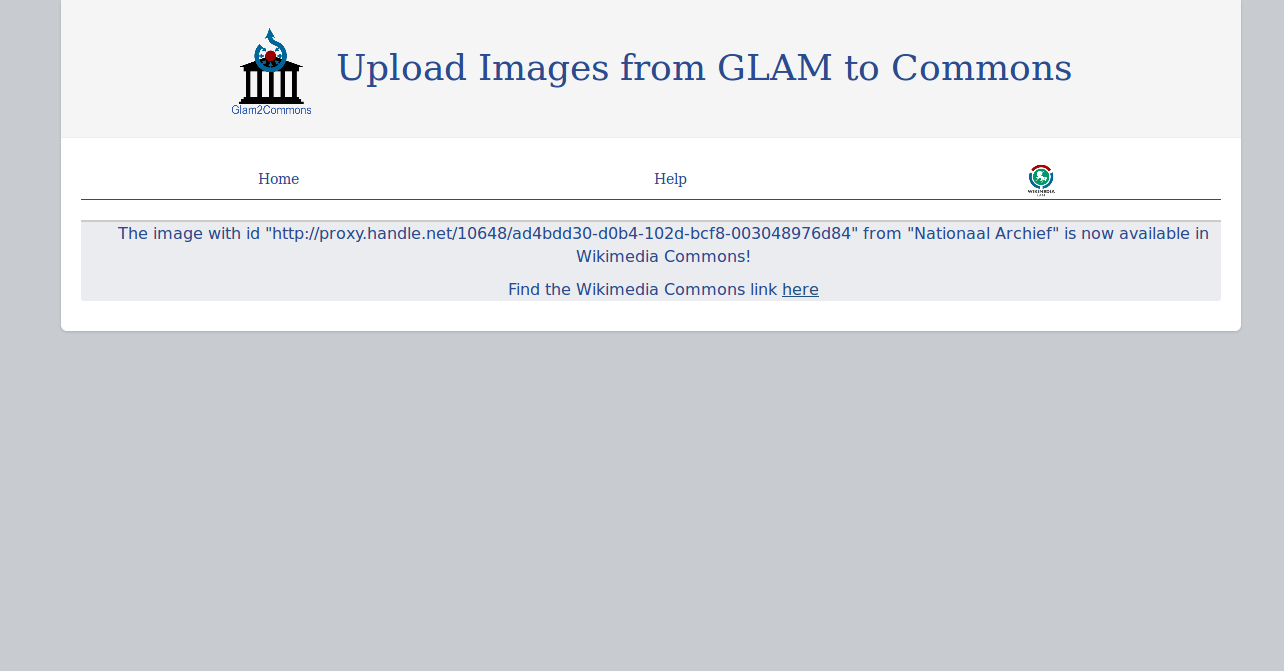
Screen 6: Single image successful upload page
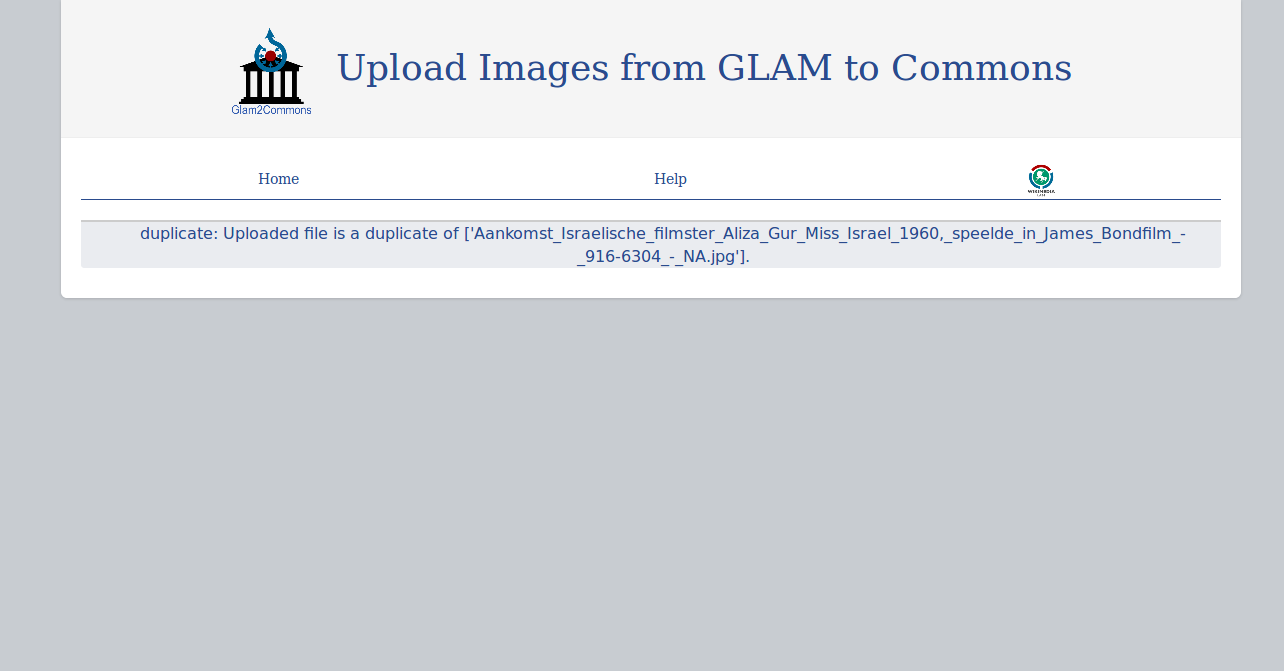
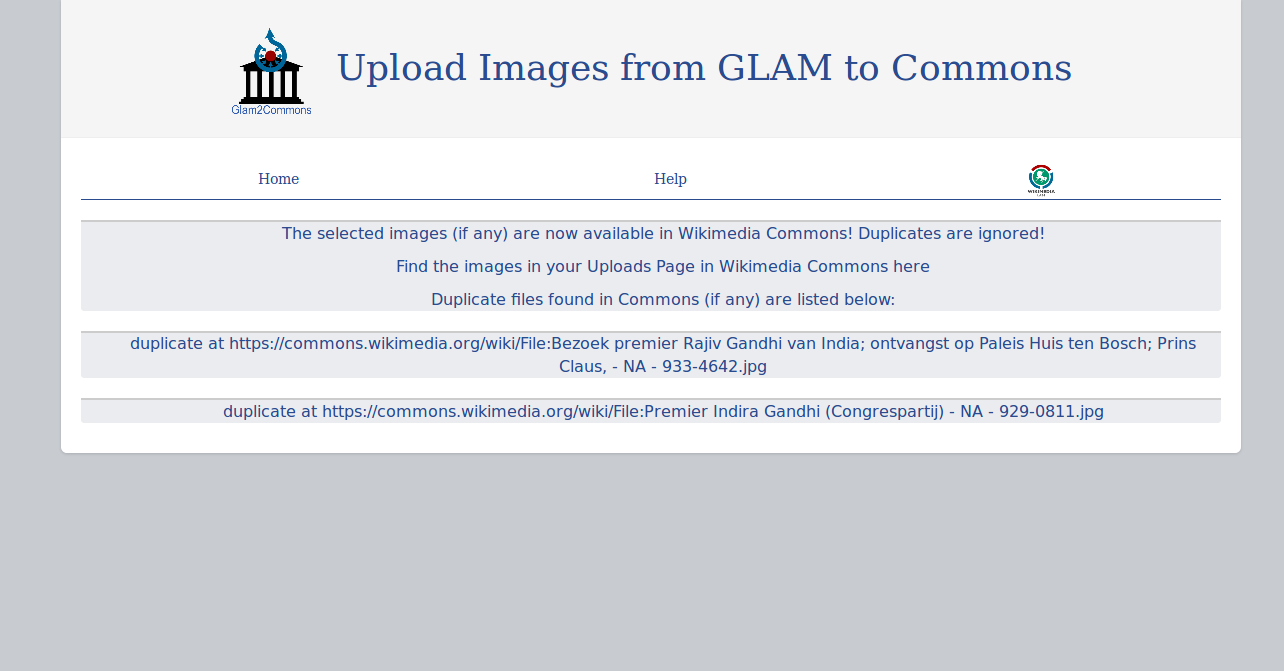
Screen 7: Duplicate image exists page
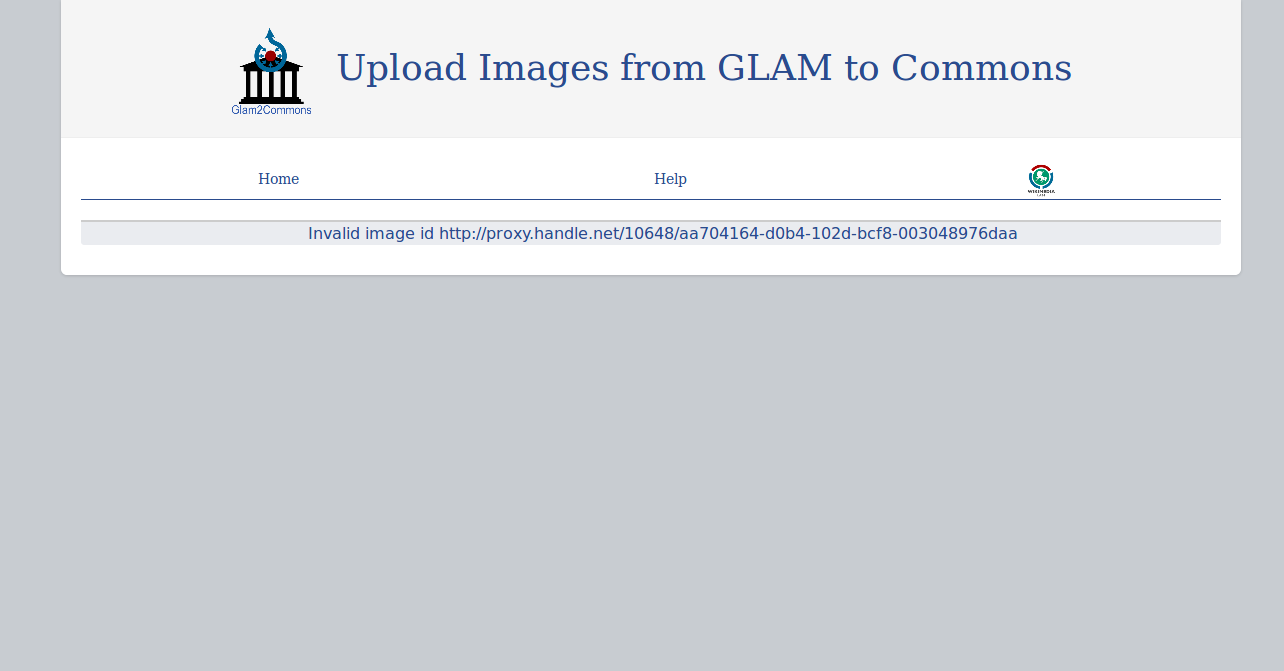
Screen 9: Invalid image URL page
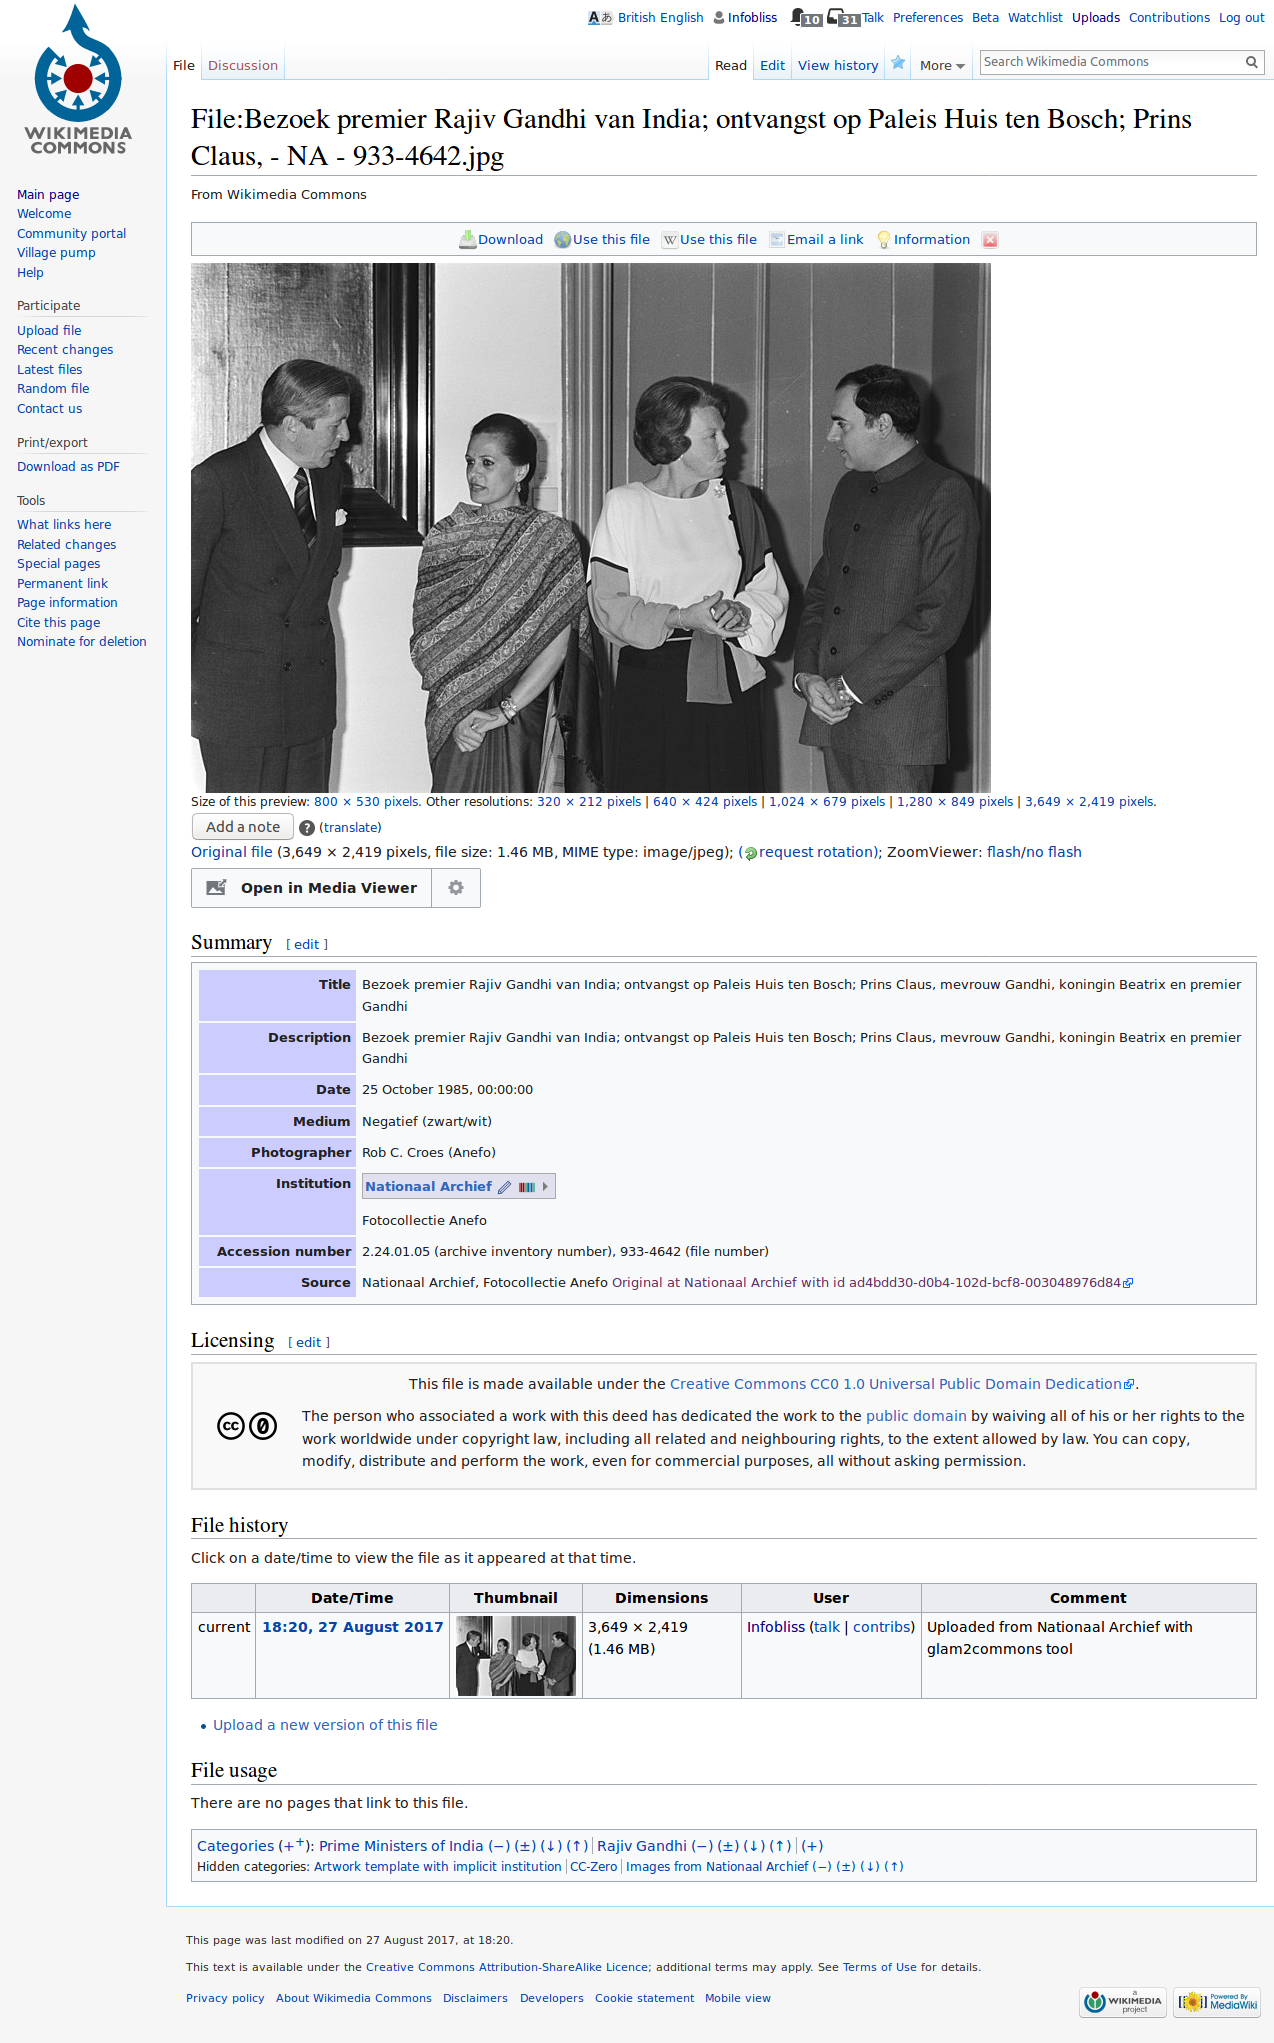
Screen 10: The uploaded image in Wikimedia Commons
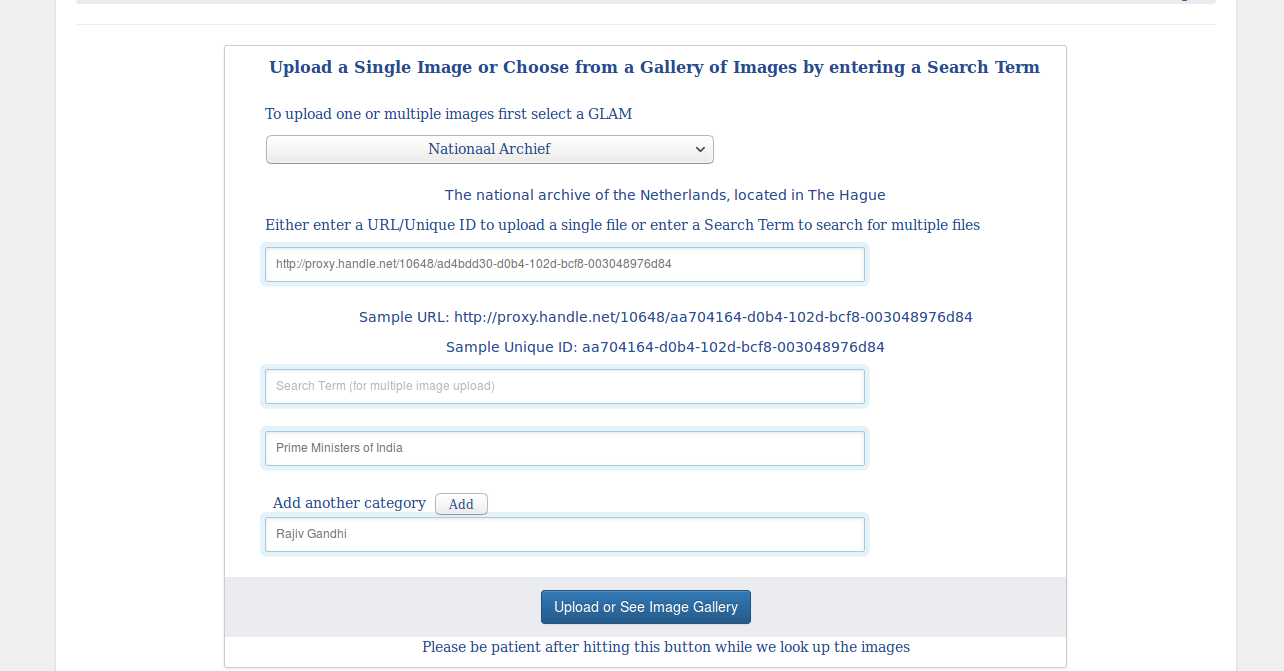
Screen 11: Multiple image upload using a search string
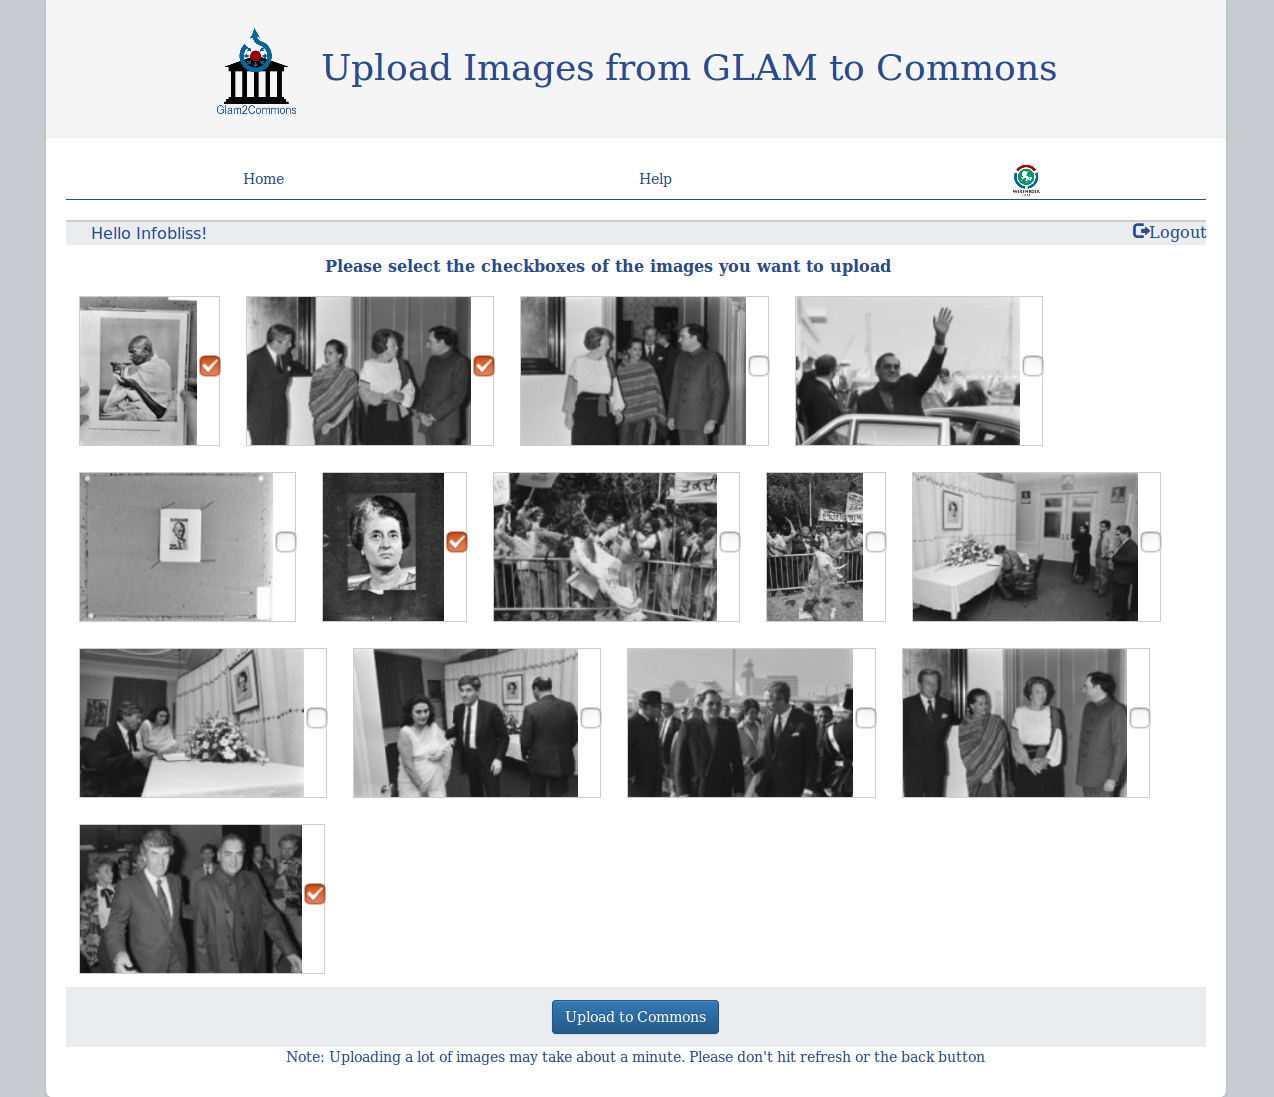
Screen 12: The image gallery
Screen 13: Multiple image successful upload page
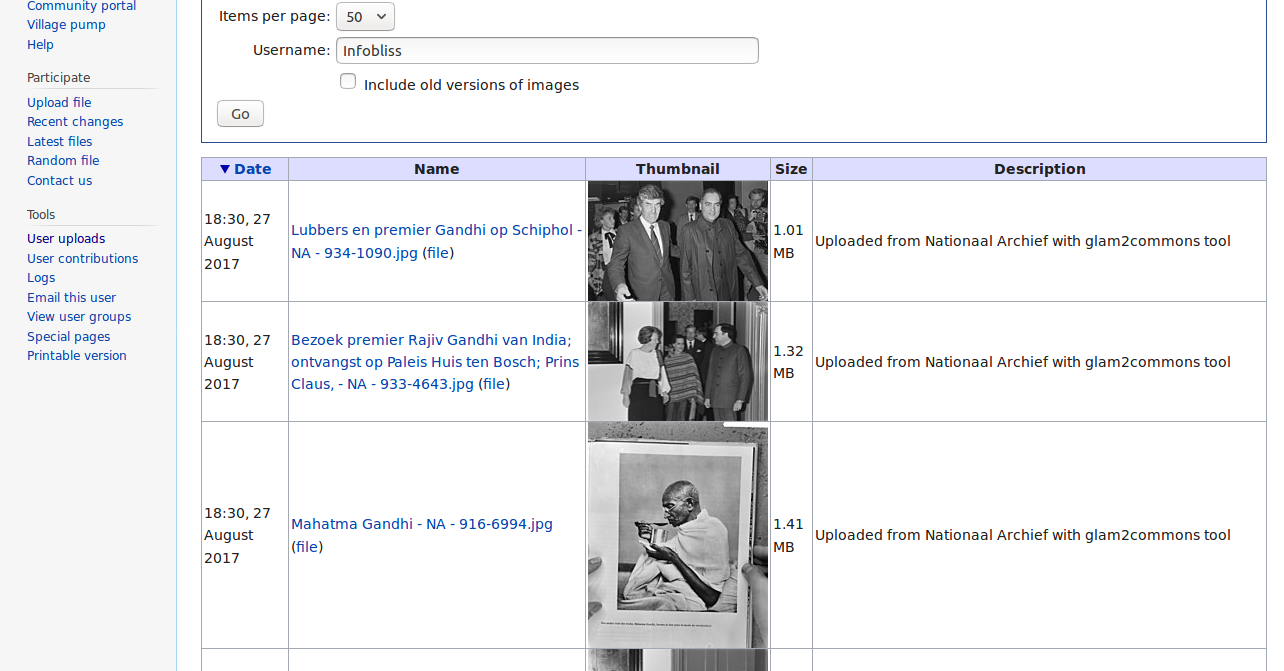
Screen 14: Multiple uploaded images in Wikimedia Commons
Screen 15: Help menu page
Other Stats
- Project Description : here
- Project Proposal : here
- Organisation : Wikimedia Foundation
- Project Duration : 31 May’17 to 29 Aug’17
- Weekly Reports : here
- Weekly Blogs : here